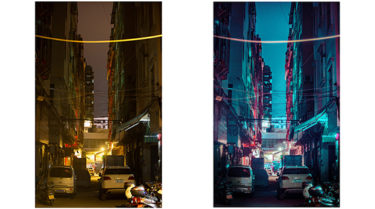
スマートフォンで撮った写真でもできます、憧れのSFの世界、サイバーパンクな世界を再現しましょう。
まずは夜景写真を用意します、今回使う写真はスマートフォンで撮った写真です。
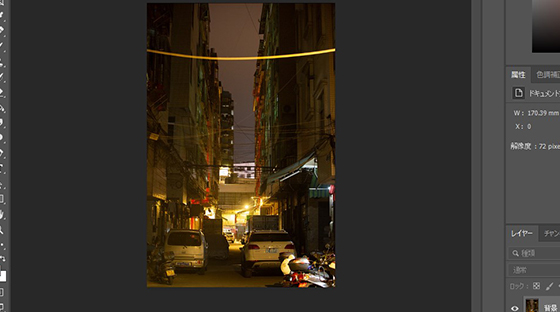
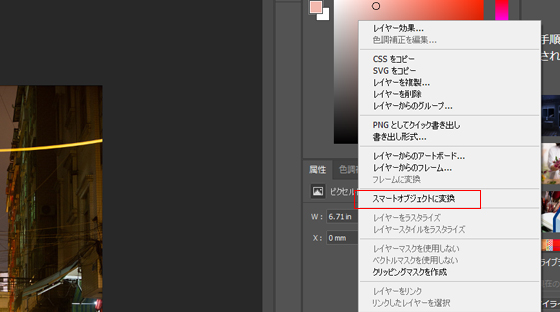
レイヤーを複製して、右クリック>「スマートオブジェクトに変換」を選択します。
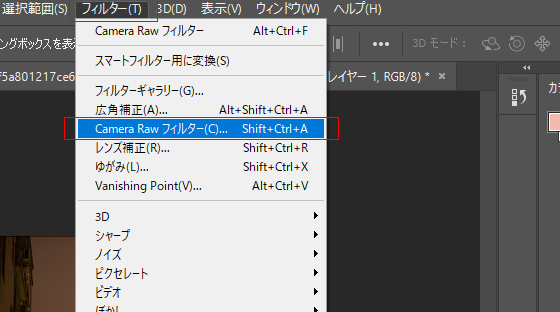
フィルタで「Camera Rawフィルター」をクリックします。
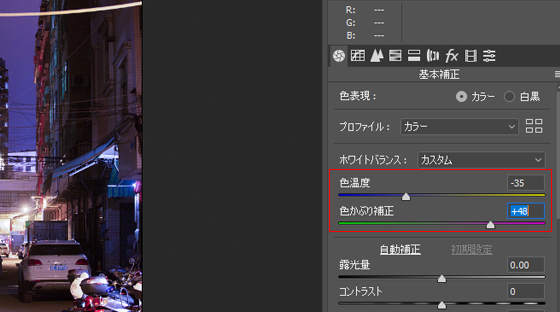
色温度を下げて、色かぶり補正をあげます、ピンクと青色を強調します。
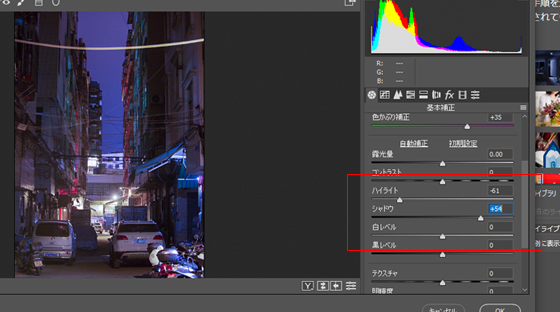
ハイライトを下げて、シャドウをあげます。
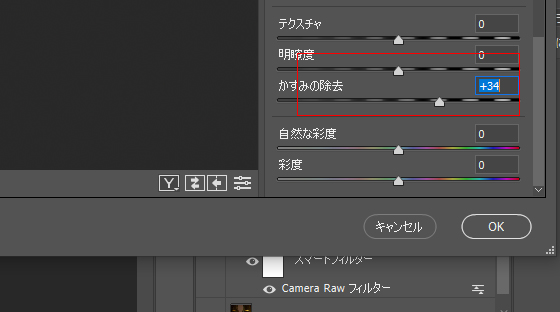
「かすみの除去」でコントラストを強調します。
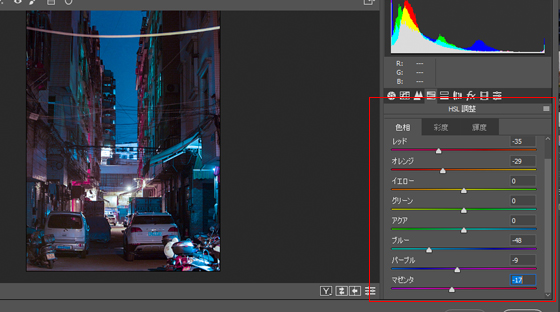
HSL調整でネオンカラーを強調します。以下のように調整して、ピンクと青色のカラーリングを強調することができます。
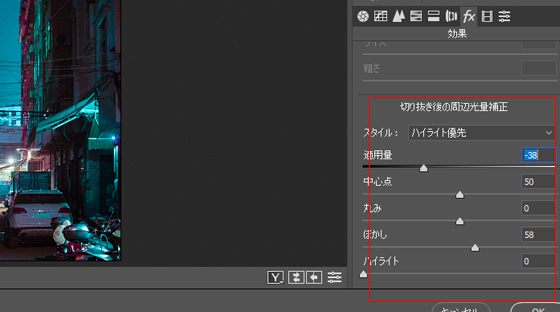
効果タブに切り替え、適用量をさげて、写真周辺の周りを暗くぼします。
選択範囲の色域指定をクリックして、表示されたパネル上でハイライト部分を選択します。

選択範囲が指定された状態で、カンバスの一番上に新しいレイヤーを作成します。

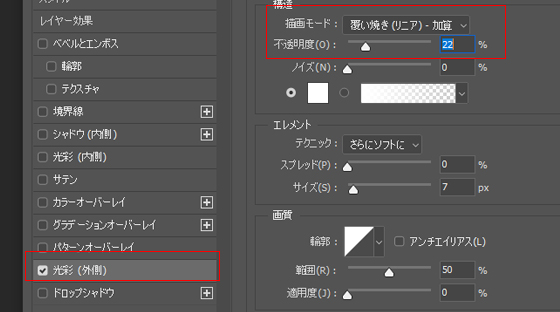
新しく作成したレイヤーをダブルクリックし、光彩(外側)効果選んで、描画モード「覆い焼き(リニア) – 加算」を利用することで、輝いているように加工できます。
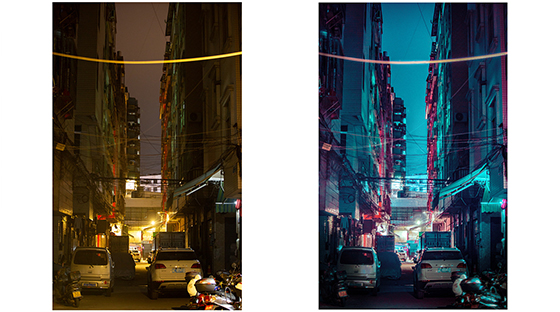
最後、明瞭度をはっきりとさせて完成です、未来感の写真加工を行うことができました。