今回はネオン風の文字を作る方法を解説していきます。
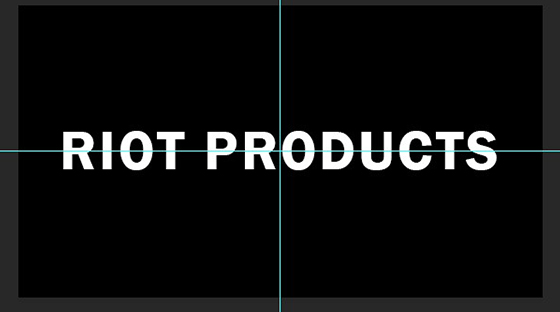
任意の文字を入力します。
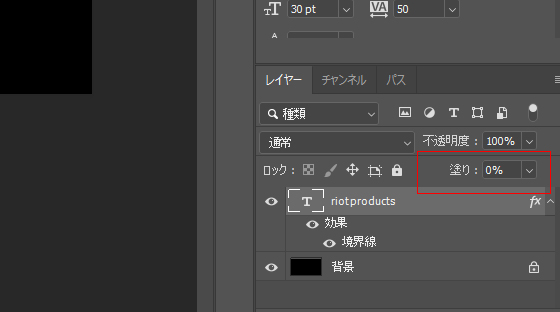
テキストレイヤーを二回クリックしてレイヤースタイルの境界線を選択しサイズを調整します。
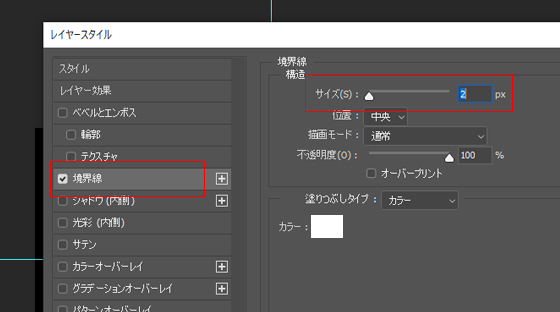
テキストレイヤーの[塗り]を0%にして境界線だけを表示させます。
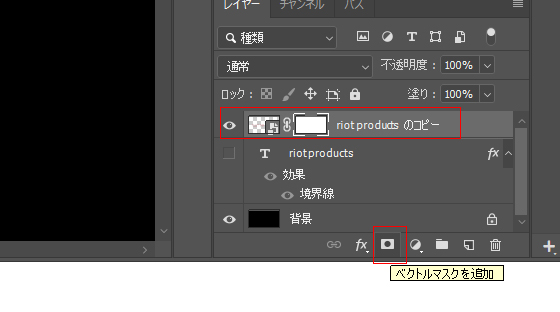
テキストレイヤーを複製して、右クリック>「スマートオブジェクトに変換」を選択してテキストレイヤーにレイヤーマスクを追加します。
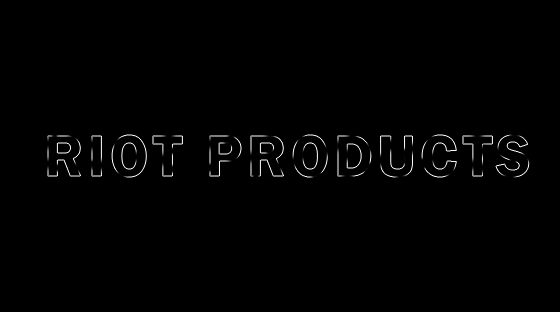
「消しゴムツール」を選択します。画像のように文字の何箇所かを透明にします。
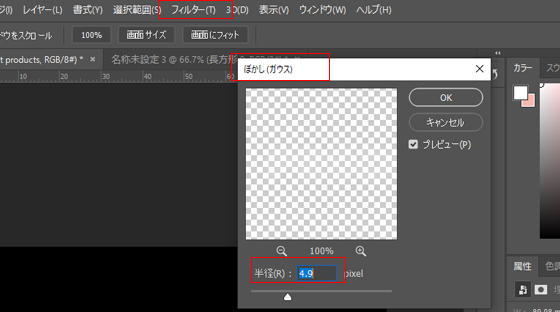
元テキストレイヤーを右クリックで「スマートオブジェクトに変換」を選択します。「フィルター」>「ぼかし(ガウス)を調整します。
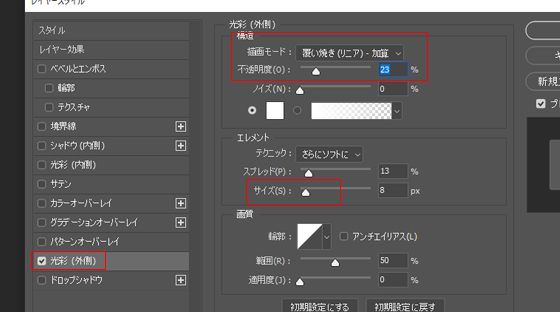
外側に光彩を追加します。レイヤースタイルダイアログで、「光彩 (外側) 」のチェックボックスをクリックします。カラー、不透明度、サイズ、描画モードを以下のように変更します。
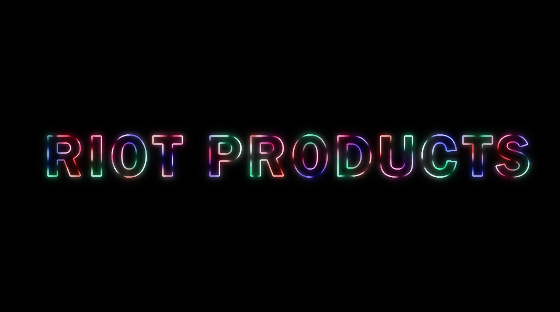
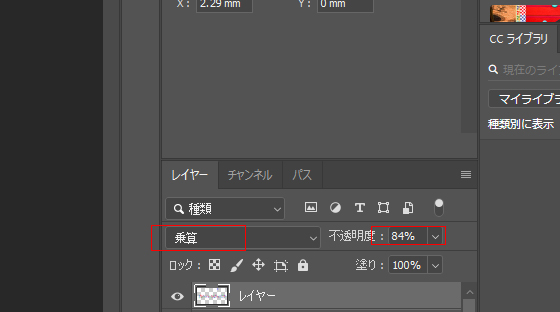
最後、新しいレイヤーを作成して、ブラシツールで好きな色をつけて、 レイヤーモードと不透明度を以下のように変更します。
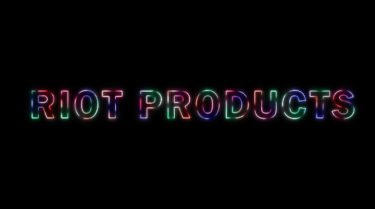
完成です!