


After Effects標準エフェクト「CC Pixel Polly」を使用した破片飛び散るテキストアニメーションを作っていきたいと思います。
テキストレイヤーを作成
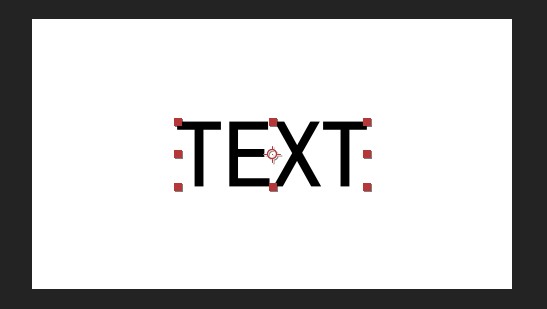
テキストレイヤーを作成します。
テキストレイヤーをプリコンポーズ
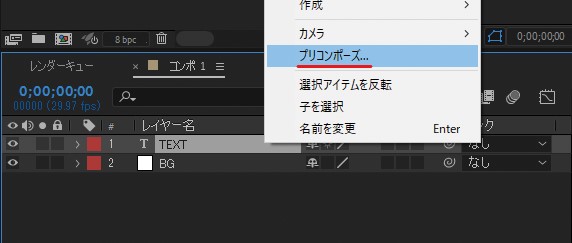
テキストレイヤーをプリコンポーズします。コンポジション名を「TEXT COMP」とします。
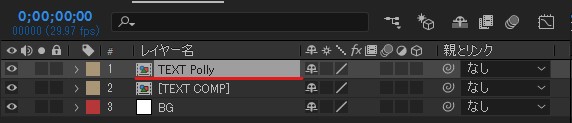
ショートカットキー「Ctrl + D」で「TEXT COMP」を複製します。
複製したレイヤーを「TEXT Polly」とします。
「CC Pixel Polly」を適用
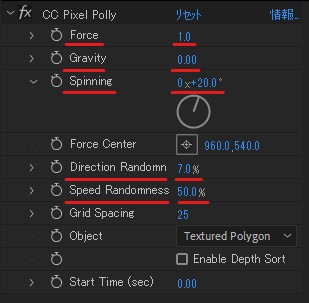
「TEXT Polly」レイヤーにエフェクト「シミュレーション」から「CC Pixel Polly」を適用します。
「CC Pixel Polly」パラメータを調整します。
- Force : 1.0
- Gravity : 0
- Spinning : 20.0°
- Direction Randomness : 50.0%
「TEXT COMP」を非表示にして再生すると、このようになります。
ペンツールを使用してマスクを指定
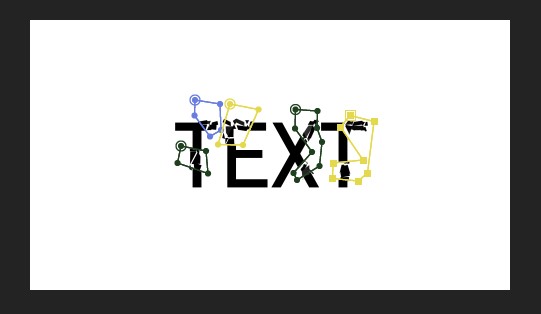
「TEXT Polly」レイヤーを選択した状態で、ペンツールを使用して破片の箇所をマスクで指定します。
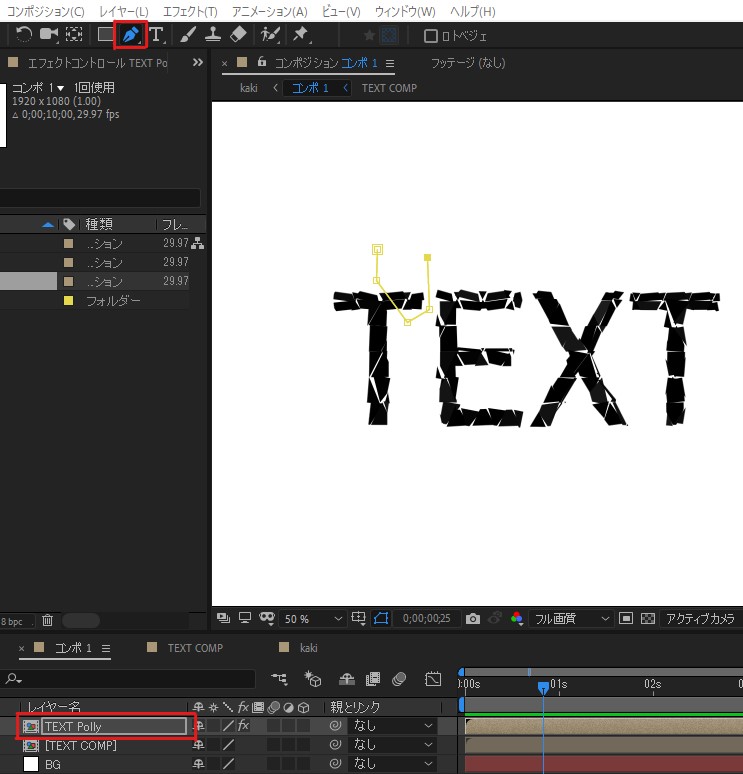
するとこのようになります。

「TEXT COMP」レイヤーを表示に戻します。
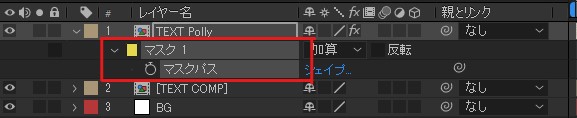
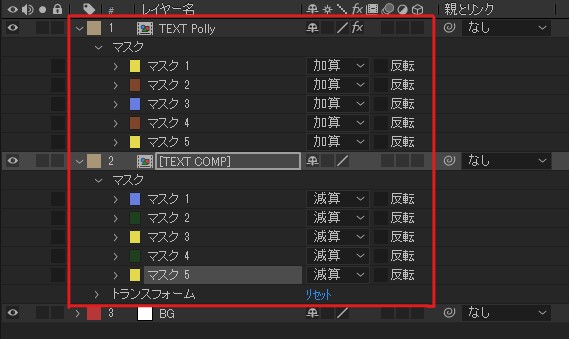
「TEXT Polly」レイヤーを選択した状態で、キーボードの「M」でマスクを表示します。
「マスク1」の「マスクパス」を選択し、「Ctrl + C」でコピーします。
続いて、「TEXT COMP」レイヤーを選択し、「Ctrl + V」でペーストします。
「TEXT COMP」レイヤーを選択し、キーボードの「M」でマスクを表示します。
「マスク1」の描画モードを「減算」にします。
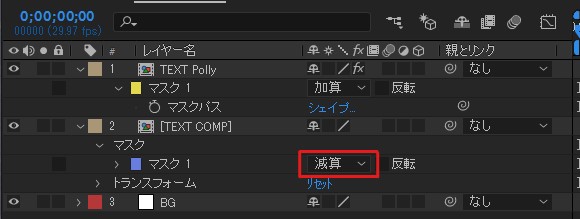
するとこのようになりました。

これをすべての文字で繰り返します。
するとこのような破片の飛び散るテキストアニメーションが出来ました。

影を作成
ここまで来たらほぼ完成なので、最後に影を作っていきます。
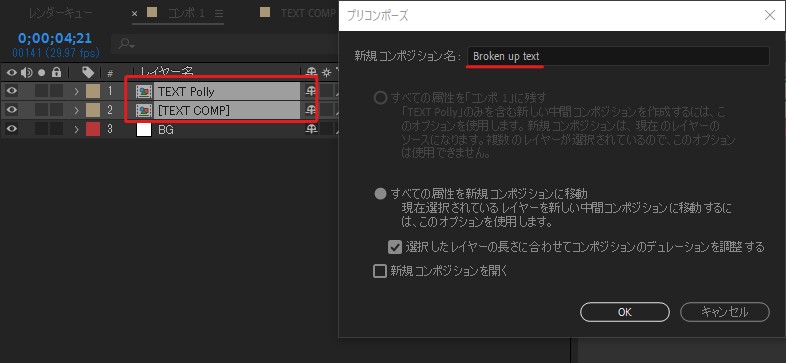
「TEXT Polly」と「TEXT COMP」をプリコンポーズします。コンポジション名を「Broken up text」とします。
「Broken up text」レイヤーを「Ctrl + D」で複製します。
複製したレイヤーのレイヤー名を「shadow」とします。
「shadow」レイヤーを3Dレイヤーにします。
キーボードの「R」で回転を設定します。
- X回転 : -80°
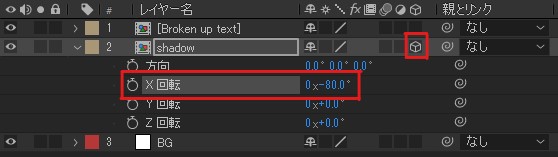
このようになります。

続いて、「位置」・「スケール」・「不透明度」を調整して影の位置を合わせます。
- 「位置」: 960.9 , 614.2 , 0.0
- 「スケール」: 91.0 , 192.2 , 100
- 「不透明度」: 25%


完成
完成しました!
テキストの破片が飛び散るテキストアニメーションが出来ました!